An Image to ASCII Converter
A Picture Is Worth 1,000 Words
 View on GitHub
A full link to the project.
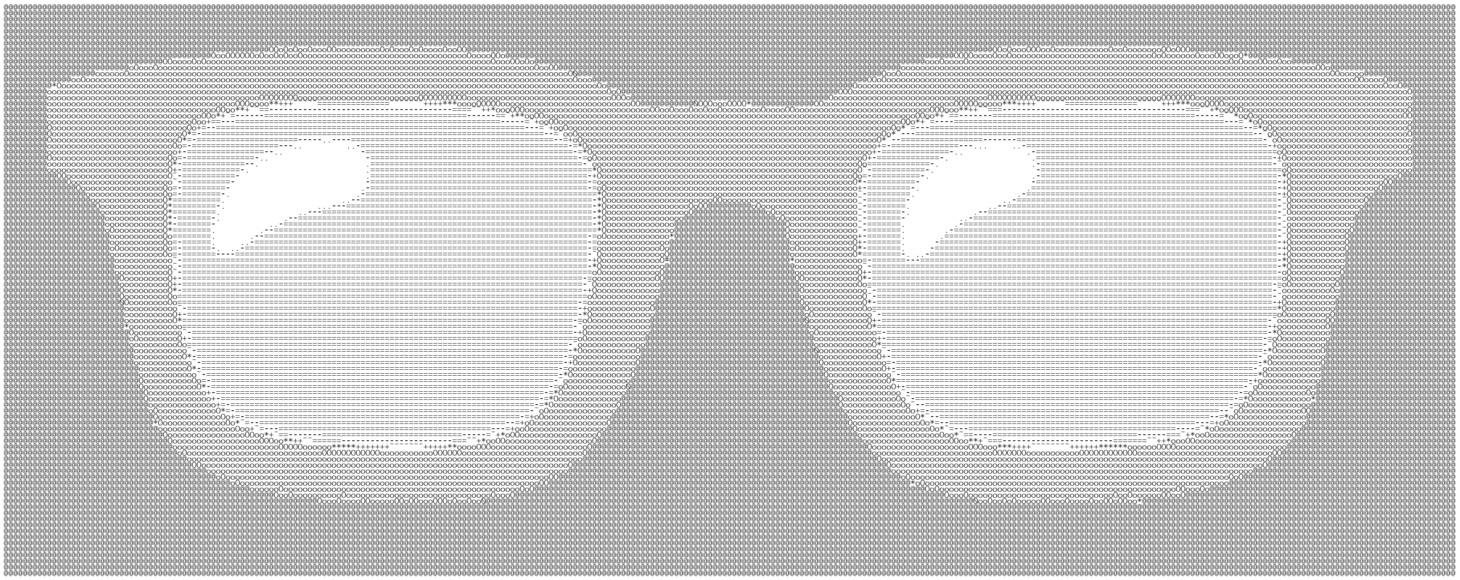
This project converts an image to ASCII.
Try it out below!
How does it work?
There are 2 components: hosting, and functionality.
Hosting with Streamlit
This project was a rapid development, and to that end, I used Streamlit.io. Streamlit is a Python web framework that provides cloud hosting, and is extremely easy to deploy with. I signed up for a free account, gave it read-only access to my public GitHub repositories, and pointed it to the repo with my Streamlit code, and picked a subdomain. Then, it was live!
Streamlit provides web objects that are rendered in a beautifully presentable way, perfect for sharing quick projects! Among your Python code, you can create Streamlit elements like this:
# Streamlit title element
st.title("Image -> ASCII Art")

# Streamlit file uploader
uploaded_file = st.file_uploader("Upload an image", type=["jpg", "jpeg", "png"])

# Streamlit slider
max_width = st.slider("Line width (in ASCII characters)", min_value=50, max_value=400, value=300)
This is great for when you have an idea, want to ship it within the evening, but don’t want to get bogged down setting up infrastructure, CI/CD, or worry about using a frontend framework. Highly recommend!
Functionality - Math and Pixels
The math for this project is fairly straightforward. The idea is that we have an image, which is a 2d array of pixels. Pixels are actually just an RGB value. So we first convert this image into greyscale (ie. black and white), which gives us a 2d array of integers between 0 and 255 (where 0 is black and 255 is white). We then map these greyscale values onto our ASCII character set!
We will choose ASCII characters that sample the scale of “brightness”, meaning that we have a list of ASCII characters that go from very bright to very dark. Choosing the character set will determine how the final ASCII image looks when it’s rendered. Here are the ASCII values I chose, in order of darkest to brightest:
@0#Oo*+~=-.
Notice that there is an empty space at the end of this list… this is the “brightest” character, because it contains no dark pixels within its bounding box. Ah, that reminds me - bounding boxes!
So fonts are weird. There are 2 main types of fonts: monospaced and non-monospaced. A monospaced font is a font where each
letter (or character) takes up the exact same amount of width as each other letter (or character), and likewise with
the height. This makes it render predictably when it is printed. A non-monospaced font might mean that the capital
letter M is wider than the lowercase letter l, which means we’d have to do extra math to ensure that the output width
stays consistent. So instead, we will ensure we have a monospaced font that will allow us to determine a consistent output size!
Now, just because each letter takes up the same sized output bounding box, does not mean those output bounding boxes are perfect squares! But the pixels of the input image are perfect squares… so we need to adjust for that.
Let’s calculate the height ratio.
(char_width, char_height) = font.getbbox("M")[2:4]
This expression will give us the bounding box size of the letter M, and since we’re using a monospaced font, it will be
the same for all ASCII characters.
We have a slider that determines the max_width in ASCII characters of the output image line. So the output width is already
determined. Since each pixel will be multiplied by the char_width across the width and char_height across the height, then
to properly calculate the output height so it preserves the aspect ratio, we can multiply the intermediary height
by char_width / char_height, to adjust the height back to normal.
And voila! We have the output ASCII text! The only thing left to do is render it onto a blank white canvas so the image may be saved as a JPEG or PNG! (And, of course, we provide the ASCII text directly to be copied to the user’s pasteboard).
A simple, fun, easy, and visual project, done in a single evening!
Enjoy!